|
|
Post by Geumlover on Sept 10, 2016 13:21:00 GMT
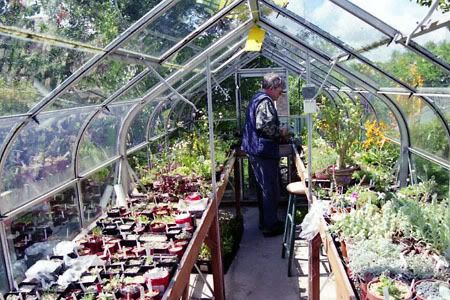
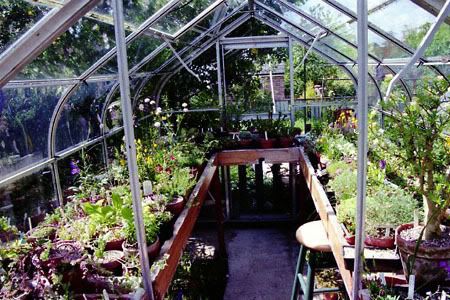
Building Staging. Plunge bed type The first stage was to construct a wooden framework. I used 3 in. by 3 in. tanalised fence post for the legs and for the cross pieces. This strength was needed to support the 2 feet. by 2 feet pressed concrete slabs which form the base of the staging. Before fitting the slabs all the wood was painted with a preservative paint. To give added stability I added metal cross pieces between each pair of legs. The metal bars are in fact pieces of spare green house staging. Each set of staging has 3 pairs of legs. All of the joints are simple butt joints with brackets to hold them together. I am no carpenter. The slabs were screwed to the framework with stainless steel screws, though their weight makes them unlikely to move.  Next I used tanalised and painted 4 ins. by 2 ins wide planks to make the sides of the plunge bed. This was fastened to the slabs with stainless steel brackets  I then covered both wood and slabs with black PVC. This was to keep moisture away from the wood and so that water would drain away more slowly.  Finally the plunge material was added. This is sharp sand.  Plants added!  Given a few years it could look like this.  or this  |
|
|
|
Post by roofgardener on Sept 13, 2016 11:39:27 GMT
That is AWESOME Geumlover. Umm... what is a "plunge bed" ? |
|
|
|
Post by Geumlover on Sept 13, 2016 12:44:00 GMT
One which is filled with sharp sand into which clay pots are 'plunged' This keeps the roots moist and cool and is used for plants which do not like having wet foliage. So mine are filled with Saxifrages. Primula allionii and cushion plants of various kinds.
|
|